Thursday, June 30, 2011

Bay Area OpenStack Meet & Drink Highlights

For those of you that weren’t able to make it yesterday and maybe for those of you who want to reminisce about the events of last night, Bay Area OpenStack Meet & Drink was probably the most well-attended OpenStack meetup in the valley to date, outside of the OpenStack summit this spring. A diverse crowd of over 120 stackers showed up – ranging from folks just learning the basics of OpenStack to hardcore code committers.


We originally planned on hosting a 30-40 person tech meetup session in a small cozy space at the Computer History Museum. However, with over 100 RSVPs we had to go all out and rent out Hahn Auditorium, making space for all of those wanting to participate.


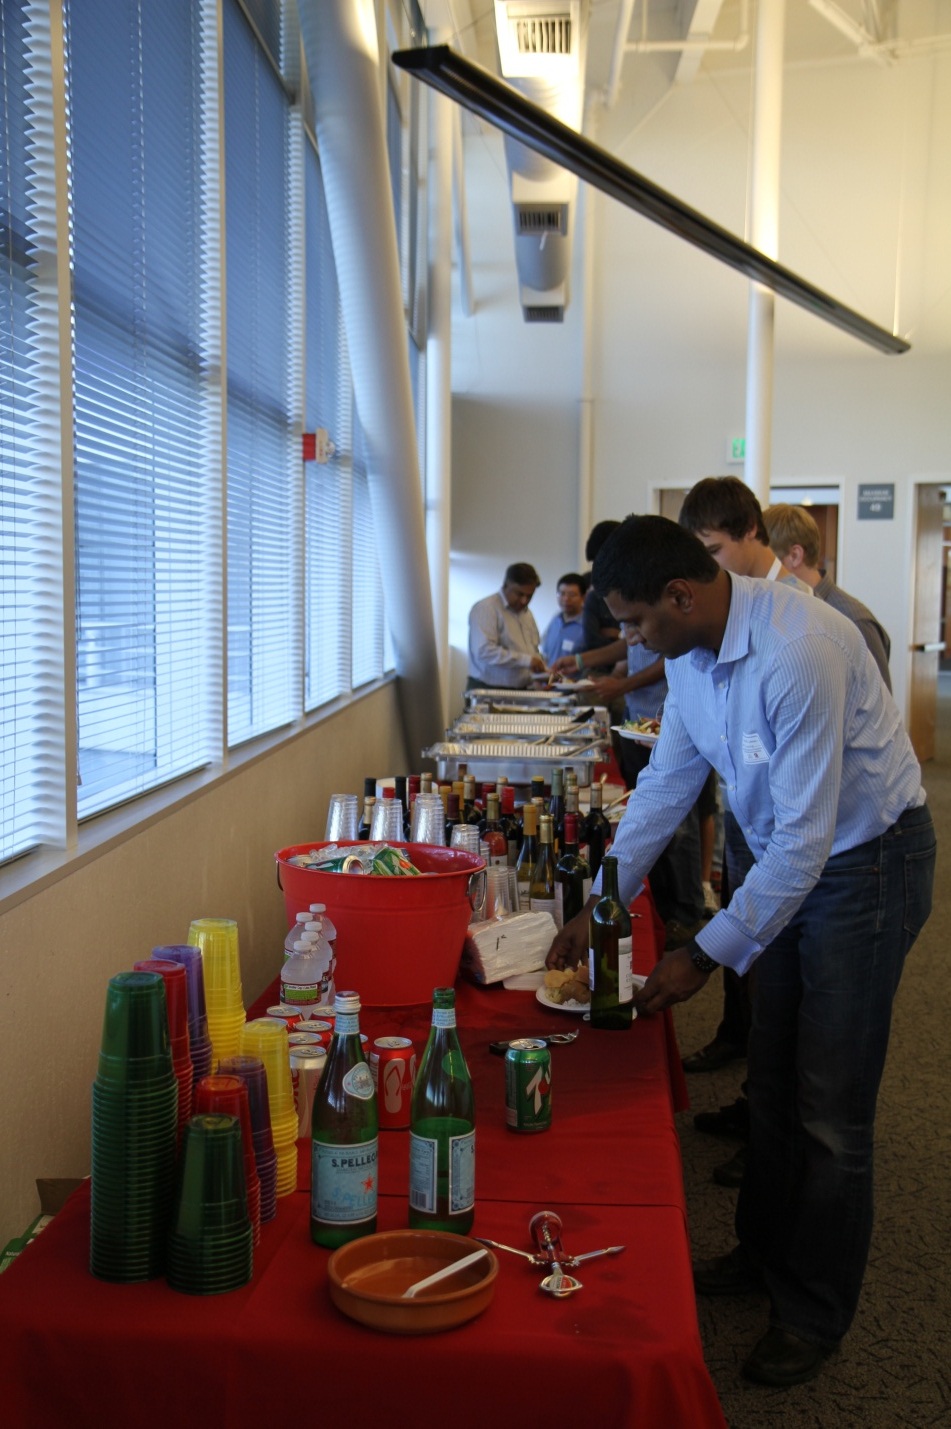
First 40 minutes – people eating drinking and mingling. The food line was a bit overwhelming.


Cloud wine was served with dinner.


Joe Arnold from Cloudscaling brought a demo server, running SWIFT for people to play around with.


I opened the ceremony with a 5-minute intro – polling the audience on their experience with OpenStack, saying a few words about Mirantis and upcoming events, as well as introducing Mirantis team members.


Meanwhile, Joe was getting all too excited to do his pitch of SWIFT.


Joe did his 10-minute talk on “Swift in the Small.” You can read up on the content that was presented in Joe’s blog: http://joearnold.com/2011/06/27/swift-in-the-small/. You can also view the slides here: http://bit.ly/mMRcpt. And the live recording of the presentation can be found here: http://bit.ly/mJOr2R


We gave out Russian Standard vodka bottles at the meetup as favors. To complete the theme and give the audience a taste of Russian hospitality, we had an accordionist perform a 5-minute stunt immediately after Joe’s pitch on Swift (see his performance here: http://bit.ly/iiYveN).


Party time…


Mike Scherbakov from our team of stackers talked about implementing Nova in Mirantis’ internal IT department, taking quite a few questions from the audience. The deck of his presentation is here: http://slidesha.re/jyS4WL. The recording of the talk can be found here: part 1; part 2; part 3; and part 4.

I’d like to thank everyone for coming and we’ll appreciate any comments or suggestions on the event. We plan to have our next meetup at the end of September. If you would like to help organize, present your OpenStack story, or offer any ideas on how to make the experience better, please ping me on twitter @zer0tweets or send me an email – borisr at mirantis dot com.

vCider Virtual Switch Overview

A couple of months ago, Chris Marino, CEO at vCider, stopped by the Mirantis office and gave a very interesting presentation on the vCider networking solution for clouds. A few days later, he kindly provided me with beta access to their product.

A few days ago, vCider announced public availability of the product. So now it's a good time to blog about my experience concerning it.


About vCider Virtual Switch

To make a long story short, vCider Virtual Switch allows you to build a virtual Layer 2 network across several Linux boxes; these boxes might be Virtual Machines (VMs) on a cloud (or even in different clouds), or it might be a physical server.

The flow is pretty simple: you download a package (DEBs and RPMs are available on the site) and install it to all of the boxes for which you will create a network. No configuration is required except for creating a file with an account token.

After that, all you have to do is to visit the vCider Dashboard and create networks and assign nodes to them.

So to start playing with that, I created two nodes on Rackspace and created a virtual network for them for which I used 192.168.87.0/24 address space.

On both boxes two new network interfaces appeared:

On the first box:

5: vcider-net0:  mtu 1442 qdisc pfifo_fast state UNKNOWN qlen 1000
link/ether ee:cb:0b:93:34:45 brd ff:ff:ff:ff:ff:ff
inet 192.168.87.1/24 brd 192.168.87.255 scope global vcider-net0
inet6 fe80::eccb:bff:fe93:3445/64 scope link
valid_lft forever preferred_lft forever

and on the second one:

7: vcider-net0:  mtu 1442 qdisc pfifo_fast state UNKNOWN qlen 1000
link/ether 6e:8e:a0:e9:a0:72 brd ff:ff:ff:ff:ff:ff
inet 192.168.87.4/24 brd 192.168.87.255 scope global vcider-net0
inet6 fe80::6c8e:a0ff:fee9:a072/64 scope link
valid_lft forever preferred_lft forever

tracepath output looks like this:

root@alice:~# tracepath 192.168.87.4
1: 192.168.87.1 (192.168.87.1) 0.169ms pmtu 1442
1: 192.168.87.4 (192.168.87.4) 6.677ms reached
1: 192.168.87.4 (192.168.87.4) 0.338ms reached
Resume: pmtu 1442 hops 1 back 64
root@alice:~#

arping also works fine:

novel@bob:~ %> sudo arping -I vcider-net0 192.168.87.1
ARPING 192.168.87.1 from 192.168.87.4 vcider-net0
Unicast reply from 192.168.87.1 [EE:CB:0B:93:34:45] 0.866ms
Unicast reply from 192.168.87.1 [EE:CB:0B:93:34:45] 1.030ms
Unicast reply from 192.168.87.1 [EE:CB:0B:93:34:45] 0.901ms
^CSent 3 probes (1 broadcast(s))
Received 3 response(s)
novel@bob:~ %>

Performance

One of the most important questions is performance. First, I used iperf to measure bandwidth on the public interfaces:

novel@bob:~ %> iperf -s -B xx.yy.94.250
------------------------------------------------------------
Server listening on TCP port 5001
Binding to local address xx.yy.94.250
TCP window size: 85.3 KByte (default)
------------------------------------------------------------
[ 4] local xx.yy.94.250 port 5001 connected with xx.yy.84.110 port 34231
[ ID] Interval Transfer Bandwidth
[ 4] 0.0-10.3 sec 12.3 MBytes 9.94 Mbits/sec
[ 5] local xx.yy.94.250 port 5001 connected with xx.yy.84.110 port 34232
[ 5] 0.0-20.9 sec 12.5 MBytes 5.02 Mbits/sec
[SUM] 0.0-20.9 sec 24.8 MBytes 9.93 Mbits/sec
[ 6] local xx.yy.94.250 port 5001 connected with xx.yy.84.110 port 34233
[ 6] 0.0-10.6 sec 12.5 MBytes 9.92 Mbits/sec
[ 4] local xx.yy.94.250 port 5001 connected with xx.yy.84.110 port 34234
[ 4] 0.0-10.6 sec 12.5 MBytes 9.94 Mbits/sec
[ 5] local xx.yy.94.250 port 5001 connected with xx.yy.84.110 port 34235
[ 5] 0.0-10.5 sec 12.4 MBytes 9.94 Mbits/sec
[ 6] local xx.yy.94.250 port 5001 connected with xx.yy.84.110 port 34236
[ 6] 0.0-10.6 sec 12.6 MBytes 9.94 Mbits/sec
[ 4] local xx.yy.94.250 port 5001 connected with xx.yy.84.110 port 34237
[ 4] 0.0-10.7 sec 12.6 MBytes 9.94 Mbits/sec
[ 5] local xx.yy.94.250 port 5001 connected with xx.yy.84.110 port 34238
[ 5] 0.0-10.6 sec 12.6 MBytes 9.93 Mbits/sec

So it gives average bandwidth ~9.3Mbit/sec.

And here's the same test via vCider network:

novel@bob:~ %> iperf -s -B 192.168.87.4
------------------------------------------------------------
Server listening on TCP port 5001
Binding to local address 192.168.87.4
TCP window size: 85.3 KByte (default)
------------------------------------------------------------
[ 4] local 192.168.87.4 port 5001 connected with 192.168.87.1 port 60977
[ ID] Interval Transfer Bandwidth
[ 4] 0.0-10.5 sec 11.4 MBytes 9.10 Mbits/sec
[ 5] local 192.168.87.4 port 5001 connected with 192.168.87.1 port 60978
[ 5] 0.0-10.5 sec 11.4 MBytes 9.05 Mbits/sec
[ 6] local 192.168.87.4 port 5001 connected with 192.168.87.1 port 60979
[ 6] 0.0-10.6 sec 11.4 MBytes 9.03 Mbits/sec
[ 4] local 192.168.87.4 port 5001 connected with 192.168.87.1 port 60980
[ 4] 0.0-10.4 sec 11.2 MBytes 9.03 Mbits/sec
[ 5] local 192.168.87.4 port 5001 connected with 192.168.87.1 port 60981
[ 5] 0.0-10.5 sec 11.4 MBytes 9.06 Mbits/sec
[ 6] local 192.168.87.4 port 5001 connected with 192.168.87.1 port 60982
[ 6] 0.0-10.4 sec 11.3 MBytes 9.05 Mbits/sec
[ 4] local 192.168.87.4 port 5001 connected with 192.168.87.1 port 60983
[ 4] 0.0-20.8 sec 11.2 MBytes 4.51 Mbits/sec
[SUM] 0.0-20.8 sec 22.4 MBytes 9.05 Mbits/sec
[ 5] local 192.168.87.4 port 5001 connected with 192.168.87.1 port 60984
[ 5] 0.0-10.5 sec 11.3 MBytes 9.03 Mbits/sec

It gives an average bandwidth of 8.5Mbit/sec, and it's about 91% of the original bandwidth, which is not bad I believe.

For the sake of experimenting, I tried to emulate TAP networking using openvpn. I chose the quickest configuration possible and just ran openvpn on the server this way:

# openvpn --dev tap0

and on the client:

# openvpn --remote xx.yy.94.250 --dev tap0

As you might guess, openvpn runs in user space and it tunnels traffic over the public
interfaces on the boxes I use for tests.

And I conducted another iperf test:

novel@bob:~ %> iperf -s -B 192.168.37.4
------------------------------------------------------------
Server listening on TCP port 5001
Binding to local address 192.168.37.4
TCP window size: 85.3 KByte (default)
------------------------------------------------------------
[ 4] local 192.168.37.4 port 5001 connected with 192.168.37.1 port 53923
[ ID] Interval Transfer Bandwidth
[ 4] 0.0-10.5 sec 11.2 MBytes 8.97 Mbits/sec
[ 5] local 192.168.37.4 port 5001 connected with 192.168.37.1 port 53924
[ 5] 0.0-10.5 sec 11.1 MBytes 8.88 Mbits/sec
[ 6] local 192.168.37.4 port 5001 connected with 192.168.37.1 port 53925
[ 4] local 192.168.37.4 port 5001 connected with 192.168.37.1 port 53926
[ 6] 0.0-10.4 sec 11.1 MBytes 8.90 Mbits/sec
[ 4] 0.0-20.6 sec 10.8 MBytes 4.38 Mbits/sec
[SUM] 0.0-20.6 sec 21.8 MBytes 8.90 Mbits/sec
[ 5] local 192.168.37.4 port 5001 connected with 192.168.37.1 port 53927
[ 5] 0.0-10.4 sec 11.0 MBytes 8.87 Mbits/sec
[ 6] local 192.168.37.4 port 5001 connected with 192.168.37.1 port 53928
[ 6] 0.0-10.3 sec 10.9 MBytes 8.90 Mbits/sec
[ 4] local 192.168.37.4 port 5001 connected with 192.168.37.1 port 53929
[ 4] 0.0-10.5 sec 11.1 MBytes 8.88 Mbits/sec
[ 5] local 192.168.37.4 port 5001 connected with 192.168.37.1 port 53930
[ 5] 0.0-10.3 sec 10.9 MBytes 8.88 Mbits/sec

It gives an average bandwidth of 8.3Mbit/sec, and it's 89% of the original bandwidth. It's just a little slower than vCider Virtual Switch which is very good for openvpn, but I have to note it's not quite a fair comparison:

  • I don't use encryption in my openvpn setup
  • Real-world openvpn configuration will be much more complex
  • I believe openvpn will scale significantly worse with the growth of the number of machines in the network, as openvpn works in client/server mode while vCider works in p2p mode and uses central service to grab metadata such as routing information etc.


Also, it seems to me that the vCider team's comparison to openvpm is helpful, as they have a note on it in the FAQ -- be sure to check it out.

Support

It's a pleasure to note that the vŠ”ider team is very responsive. As I started testing the product at quite an early stage, I spotted some issues, and even they were not critical. It's a great pleasure to see they are all fixed in the next version.

Conclusion

vCider Virtual Switch is a product with expected behavior, good performance, complete documentation, and it's easy to use. The vCider team provides good support as well.

It seems that for relatively small setups within a single trusted environment, e.g. about 5-8 VMs within a single cloud provider, where traffic encryption and performance are not that critical, one could go with a openvpn setup. However, when either security or performance becomes important or the size of the setup increases, vCider Virtual Switch would be a good choice.

I am looking forward to new releases and specifically I'm very curious about multicast support and exposed API which manages networks.

Further reading

* vCider Home Page
* vCider Virual Switch FAQ
* Wikipedia article on OSI model
* OpenVPN Home Page

Thursday, June 9, 2011

Clustered LVM on DRBD resource in Fedora Linux

As Florian Haas has pointed out in my previous post's comment, our shared storage configuration requires special precautions to avoid corruption of data when two hosts connected via DRBD try to manage LVM volumes simultaneously. Generally, these precautions concern locking LVM metadata operations while running DRBD in 'dual-primary' mode.

Let's examine it in detail. The LVM locking mechanism is configured in the [global] section of /etc/lvm/lvm.conf. The 'locking_type' parameter is the most important here. It defines which locking LVM is used while changing metadata. It can be equal to:

  • '0': disables locking completely - it's dangerous to use;
  • '1': default, local file-based locking. It knows nothing about the cluster and possible conflicting metadata changes;
  • '2': uses an external shared library and is defined by the 'locking_library' parameter;
  • '3': uses built-in LVM clustered locking;
  • '4': read-only locking which forbids any changes of metadata.


The simplest way is to use local locking on one of the drbd peers and to disable metadata operations on another one. This has a serious drawback though: we won't have our Volume Groups and Logical Volumes activated automatically upon creation on the other, 'passive' peer. The thing is that it's not good for the production environment and cannot be automated easily.

But there is another, more sophisticated way. We can use the Linux-HA (Heartbeat) coupled with the LVM Resource Agent. It automates activation of the newly created LVM resources on the shared storage, but still provides no locking mechanism suitable for a 'dual-primary' DRBD operation.

It should be noted that full support of clustered locking for the LVM can be achieved by the lvm2-cluster Fedora RPM package stored in the repository. It contains the clvmd service which runs on all hosts in the cluster and controls LVM locking on shared storage. In this case, we have only 2 drbd-peers in the cluster.

clvmd requires a cluster engine in order to function properly. It's provided by the cman service, installed as a dependency of the lvm2-cluster (other dependencies may vary from installation to installation):


The only thing we need the cluster for is the use of clvmd; the configuration of cluster itself is pretty basic. Since we don't need advanced features like automated fencing yet, we specify manual handling. As we have only 2 nodes in the cluster, we can tell cman about it. Configuration for cman resides in the /etc/cluster/cluster.conf file:


clusternode name should be a fully qualified domain name and should be resolved by DNS or be present in /etc/hosts. Number of votes is used to determine quorum of the cluster. In this case, we have two nodes, one vote per node, and expect one vote to make the cluster run (to have a quorum), as configured by cman expected attribute.

The second thing we need to configure is the cluster engine (corosync). Its configuration goes to /etc/corosync/corosync.conf:


The bindinetaddr parameter must contain a network address. We configure corosync to work on eth1 interfaces, connecting our nodes back-to-back on 1Gbps network. Also, we should configure iptables to accept multicast traffic on both hosts.

It's noteworthy that these configurations should be identical on both cluster nodes.

After the cluster has been prepared, we can change the LVM locking type in /etc/lvm/lvm.conf on both drbd-connected nodes:


Start cman and clvmd services on drbd-peers and get our cluster ready for the action:


Now, as we already have a Volume Group on the shared storage, we can easily make it cluster-aware:


Now we see the 'c' flag in VG Attributes:


As a result, Logical Volumes created in the vg_shared volume group will be active on both nodes, and clustered locking is enabled for operations with volumes in this group. LVM commands can be issued on both hosts and clvmd takes care of possible concurrent metadata changes.

Monday, June 6, 2011

OpenStack Nova: basic disaster recovery

Today, I want to take a look at some possible issues that may be encountered while using OpenStack. The purpose of this topic is to share our experience dealing with the hardware or software failures which definitely would be faced by anyone who attempts to run OpenStack in production.

Software issue


Let's look at the simplest, but possibly the most frequent issue. For example, if we need to upgrade the kernel or software that will require a host reboot on one of the compute nodes, the best decision in this case is to migrate all virtual machines running on this server to other compute nodes. Unfortunately, sometimes it may be impossible due to several reasons, such as lack of shared storage to perform migration or cpu/memory resources to allocate all VMs. The only option is to shut down virtual machines for the maintenance period. But how should they be started correctly after being rebooted? Of course, you may set the special flag in nova.conf and instances will start automatically on the host system boot:


However, you may want to disable it (in fact, setting this flag is a bad idea if you use nova-volume service).

There are many ways to start virtual machines. Probably the simplest one is to run:


It will recreate and start the libvirt domain using instance XML. This method works good if you don't have remote attached volume; otherwise, nova boot will fail with an error. In this case, you'll need to start the domain manually using the virsh tool, connect the iscsi device, create an XML file and attach it to the instance, which is a nightmare if you have lots of instances with volumes.

Hardware issue


Imagine another situation. Assume our server with a compute node experiences a hardware issue that we can't eliminate in a short time. The bad thing is that it often happens unpredictably, without the ability to transfer virtual machines to a safe place. Yet, if you have shared storage, you won't lose instances data; however, the way to recover may be pretty vague. Going into technical details, the procedure can be described by following steps:
  • update host information in DB for recovered instance

  • spawn instance on compute node

  • search for any attached volumes in database

  • look for volume device path, connect to it by iscsi or some other driver if necessary

  • attach it to the guest system

Solution


For this and previous situations we developed python script that would run a virtual machine on the host where this script is executed. You can find it on our git repository: openstack-utils. All you need is to copy the script on the compute node where you want to recover the virtual machine and execute:


You can look for instance_id using the nova list command. The only limitation is that the virtual machine should be available on the host system.


Of course, in everyday OpenStack usage, you will be faced with lots of troubles that couldn't be solved by this script. For example, you may have storage configuration that provides the mirroring of data between two compute nodes and you need to recover the virtual machine on the third node that doesn't contain it on local hard drives. The more complex issues require more sophisticated solutions and we are working to cover most of them.